Easy make-ahead freezer meals make cooking dinner so much more efficient. If you don't have time to make dinner after work or you like making all your meals one day a week, these crockpot and fully-cooked freezer meals will fit right into your life.
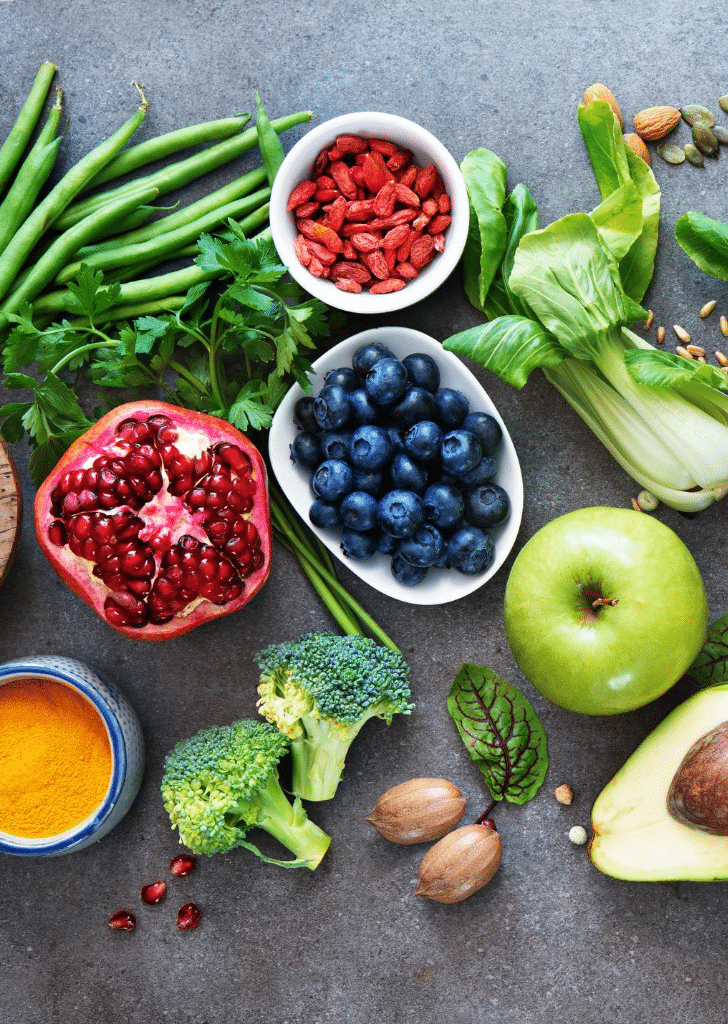
I started making freezer meals when my first baby was almost due. I was panicked that I would have no time to make food after the baby was born, so I made a whole bunch of meals and put them in the freezer to make later.
I stumbled along at first, not knowing exactly what to make or how to make it. I tried all crockpot recipes first and realized I wanted more variety. Then, I tried different fully cooked meals and decided some of them weren't worth the time I put in for them. There were various pitfalls with each.
Over the years I've come up with different ways to build these meals and recipes that work best for this particular type of storage.
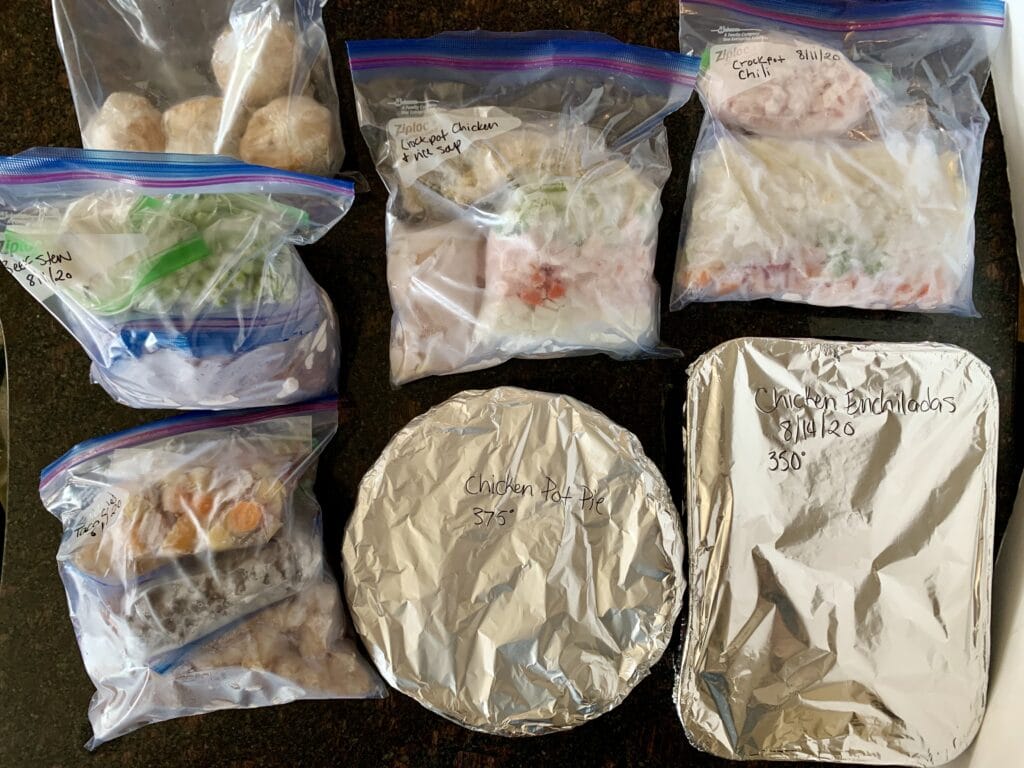
3 types of freezer meals
There are three ways I've found to make easy freezer meals. I typically like to add a little something fresh when cooking or reheating these meals. Sliced green onions, steamed broccoli, grilled pineapple, diced red onions, chopped parsley or something along these lines work perfectly.
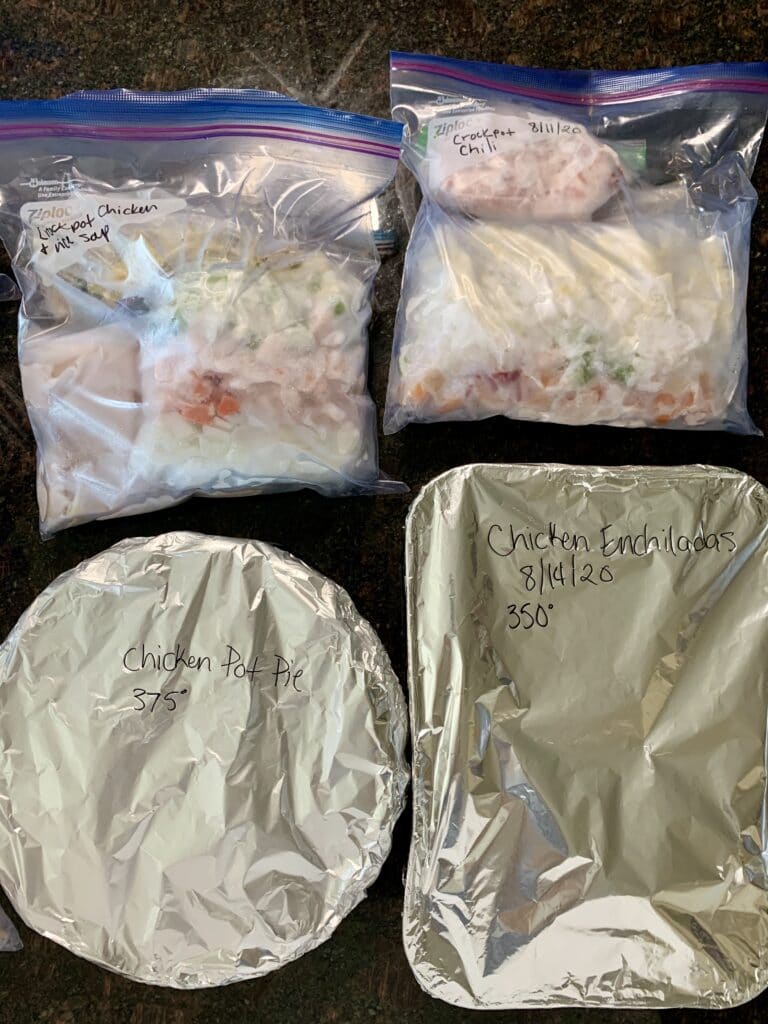
The first is the traditional crockpot freezer meal when you put raw meat, sauce, grains, pasta, and veggies in separate small bags and then put them all in one big bag. Freeze that and when you're ready, you can thaw it and throw it in the crockpot.
The second are fully-cooked freezer meals. This is when you cook the recipe all the way through, then thaw, and bake it. These types of meals are great if you don't mind spending a little more time on prep day to make a full meal. There are recipes that are worth the amount of time spent making them too.
The third way is the build-your-meal method. This is when you cook or freeze separate items that can easily be thrown together but allow you more freedom of creation. For example, you could make different sauces, meats, grains, or pastas and freeze them all separately. Then you could mix and match what you'd like for dinner that night by pulling those items out of the freezer separately.
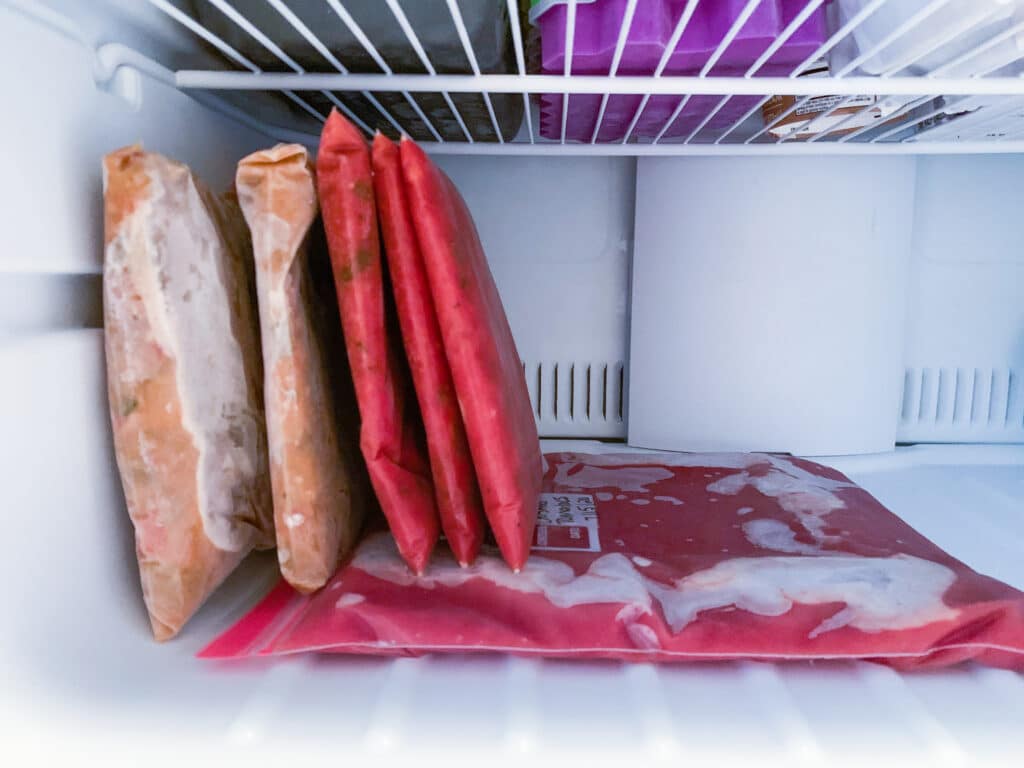
What about other meals?
Don't forget about the other meals of the day! I routinely make breakfast burritos, lunch sandwiches, snacks, and desserts, that go right in the freezer.
Here are some worksheets to get you started...
I created these blank Freezer & Pantry worksheets and I want to give you access to them. They are great for keeping track of what you have on hand so you are always prepared and never overwhelmed with the prospect of what to cook for dinner tonight. Just enter your info below.
What about the other types of freezer meals, Lindsey?
I've created an amazing 5-day Freezer Meal Bootcamp. In it, I explain how to prepare and create a week of freezer meals in a single day of prep. I will set you up for ultimate success so you can master this process and create perfect freezer meals every time.
Each day you'll get an email containing steps to take for a successful week of freezer meals. I'll send you a week of recipes I've created specifically for freezer meals, my tested method for getting it right the first time, a video walkthrough on the steps I take when creating my own freezer meals, and a host of resources.
You won't have to worry about what you’re going to make for dinner, because you’ll have fast, healthy, and home-cooked meals waiting for you to make.
I like to be prepared for dinner ahead of time. It doesn’t always happen and on those nights, when I’m standing in front of the open refrigerator wondering what I can make with yogurt, a head of broccoli, and lunch meat, I wish I would have taken a day to prep freezer meals the week before.
You can make one week, two weeks, or even a whole month’s worth of meals depending on the time you have and the space in your freezer.
If this sounds like the right class for you, sign up by clicking on the link below.
>>5 Day Freezer Meal Bootcamp<<
Here are some recipes to get you started:
These recipes can easily be turned into freezer meals!
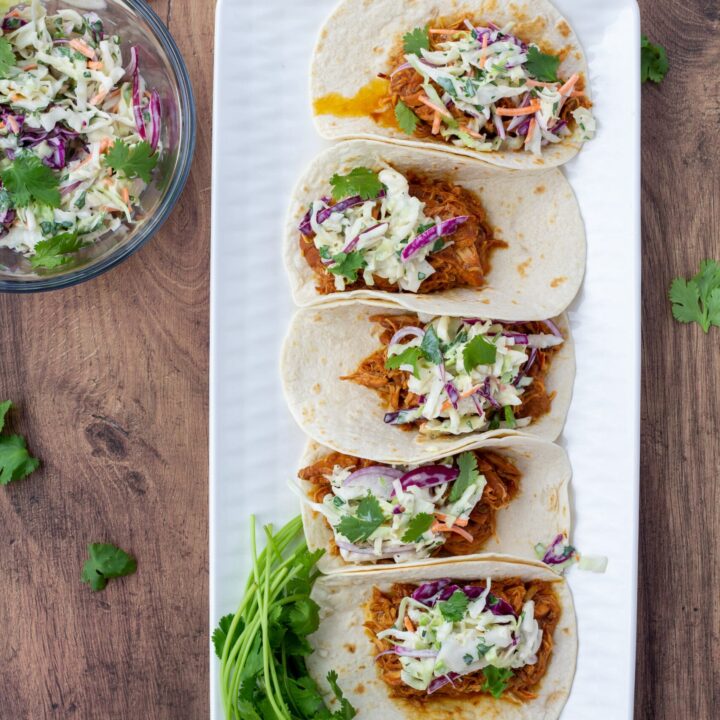
Crockpot BBQ Chicken Tacos with Crunchy Slaw
BBQ Crockpot chicken tacos are super easy to make and are ready in just 4 hours. Cooked with barbeque sauce served with crunchy slaw for an extra flavor boost that really pops!
Ingredients
BBQ Chicken
- 2 pounds chicken breasts or thighs
- ½ teaspoon salt
- ½ teaspoon pepper
- 1 cup BBQ sauce
- 1 cup water
Crunchy Slaw
- 1 bag of red and white cabbage
- ¼ red onion thinly sliced
- 2 tablespoons cilantro chopped
- ¼ cup mayonnaise
- 2 tablespoons apple cider vinegar
- salt & pepper
Instructions
- Place the chicken in the crockpot, sprinkle with salt and pepper, pour in the BBQ sauce and water, and stir it all together. Cook on high for 4 hours.
- Combine all the ingredients for the slaw in a medium sized bowl and stir together. Cover with plastic wrap and put in the fridge if you are making it ahead of time.
- Heat flour or corn tortillas in a saute pan on medium heat until lightly browned on each side.
- Shred the chicken with two tongs or forks in the crockpot.
- Layer a hot tortilla with chicken then slaw, and any extra cilantro.
- Enjoy!
Nutrition Information:
Yield: 8 Serving Size: ½ cupAmount Per Serving: Calories: 334Total Fat: 12gSaturated Fat: 3gTrans Fat: 0gUnsaturated Fat: 8gCholesterol: 120mgSodium: 690mgCarbohydrates: 15gFiber: 1gSugar: 12gProtein: 40g
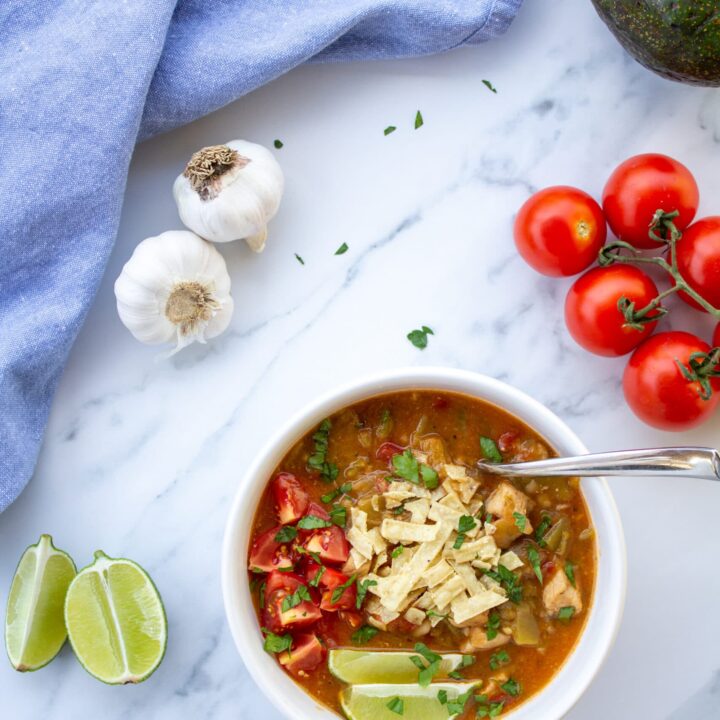
Colorado Hatch Green Chile
This fresh Hatch Green Chile recipe is savory and spicy. It can be eaten by itself in a bowl or served hot over beef and bean burritos or fried eggs.
Ingredients
- 2 lbs pork loin cut into ½ inch pieces
- 1 white onion diced
- 8 cloves garlic finely diced
- 1 15oz can tomatoes fire-roasted
- 6 cups green chiles diced
- 4 cups chicken broth
- ¼ cup flour for the slurry
Instructions
- If you bought roasted green chiles, rinse and remove as much skin as possible. Remove the seeds and dice.
- Prep the ingredients first: Remove any fat or silver skin from the pork loin. Cut into ½ inch pieces. Chop the onion and finely dice the garlic. Open the cans of tomatoes. Measure out the chicken broth.
- Heat a large pot on medium-high and add 2 tablespoons of vegetable oil. Once it’s hot, brown the pork pieces in two batches. Stir to avoid sticking to the bottom. When the pork is browned, remove to a bowl and set aside.
- Reduce the heat to medium, and once the pot has cooled down a little, add the chopped onions. Stir and soften them for about 5 - 6 minutes.
- Add the finely diced garlic and cook for 1 minute.
- Add the fire-roasted tomatoes to the pot and the diced green chiles. Stir to combine. Let this simmer on medium-low for 10 minutes.
- Pour in 4 cups of chicken broth to give it an extra boost of flavor. You can substitute vegetable broth if you’d like.
- Make a slurry of the broth and flour in a separate bowl. Add 1 cup broth to a bowl and ¼ cup flour and whisk until there are no large lumps. Pour this into the pot. *Do not pour the flour directly into the pot without making the slurry first.*
- Add the browned pork and simmer for 20 minutes on medium heat. The slurry will help thicken the chile. You can adjust the thickness by adding more slurry for thicker consistency or more chicken broth to loosen it up.
Notes
Don’t skip stewing the tomatoes. This is where you get the rich and savory flavor that you’re looking for.
Nutrition Information:
Yield: 16 Serving Size: ½ cupAmount Per Serving: Calories: 151Total Fat: 5gSaturated Fat: 2gTrans Fat: 0gUnsaturated Fat: 3gCholesterol: 47mgSodium: 292mgCarbohydrates: 9gFiber: 2gSugar: 4gProtein: 17g
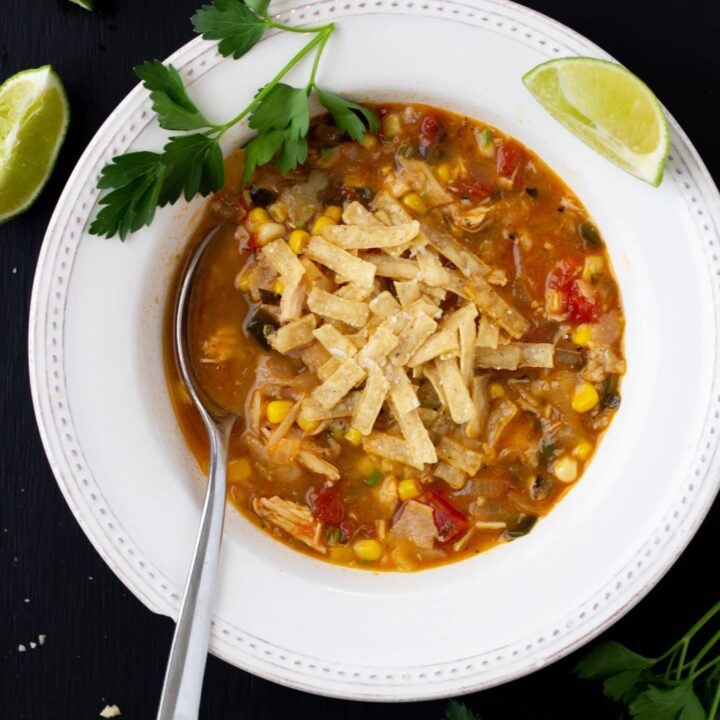
Roasted Chicken Tortilla Soup Recipe
Savory chicken tortilla soup that's easy to make during the week and great for leftovers.
Ingredients
- 1 medium onion chopped
- 1 poblano pepper chopped
- 2 tablespoons cilantro stems finely diced
- 2 tablespoons tomato paste
- 3 cloves garlic diced
- 1 15 oz can fire roasted diced tomatoes
- 2 teaspoons kosher salt
- 1 teaspoon black pepper freshly ground
- 8 cups chicken broth
- 1 15 oz can sweet corn
- ¼ cup lime juice fresh
- 2 tablespoons cilantro leaves fresh
- 2 cups shredded chicken
Instructions
- Heat a large pot to medium and add a tablespoon of olive oil. Sauté the onions, poblanos, and cilantro stems for about 6 minutes until soft.
- Add the tomato paste while stirring constantly (this burns easily) for about 1 minute and then add the garlic and stir for 30 seconds more, just until the garlic is fragrant.
- Stir in the can of fire-roasted tomatoes, chicken broth, and salt and pepper. Bring to a boil and let simmer for 20 minutes.
- Remove from the heat and add the corn, chicken, lime juice, and cilantro leaves.
- Ladle into bowls and add whichever garnishes you like. I especially like the avocados and crunchy onion strings!
Notes
Poblano peppers can be very spicy. I suggest grabbing a couple at the store to make sure you get at least one with a spice level you are comfortable with.
Nutrition Information:
Yield: 8 Serving Size: 1 cupAmount Per Serving: Calories: 145Total Fat: 4gSaturated Fat: 1gTrans Fat: 0gUnsaturated Fat: 2gCholesterol: 30mgSodium: 1543mgCarbohydrates: 18gFiber: 3gSugar: 6gProtein: 13g
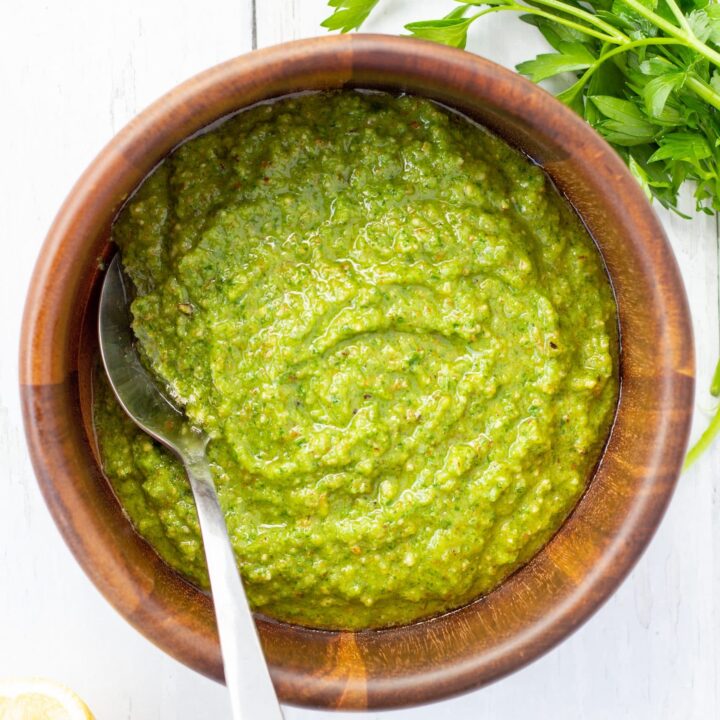
Amazing 5-Minute Green Sauce
5-minute green sauce made with parsley, lemon, olive oil, and almonds all pulsed together in a food processor. It's delicious on chicken, fish, and steak!
Ingredients
- 1 cup parsley
- 1 clove garlic
- ½ cup almonds
- 1 tablespoon lemon juice
- ¼ cup olive oil
- ¼ teaspoon salt
- ⅛ teaspoon pepper
Instructions
- Add the parsley, garlic, almonds, lemon juice, olive oil, salt, and pepper in a food processor and blend for 30 seconds or until smooth.
Notes
You can leave out the garlic for a more mild sauce if your meal is especially flavorful to provide a nice balance.
Nutrition Information:
Yield: 16 Serving Size: 1 tablespoonAmount Per Serving: Calories: 57Total Fat: 6gSaturated Fat: 1gTrans Fat: 0gUnsaturated Fat: 5gCholesterol: 0mgSodium: 57mgCarbohydrates: 1gFiber: 1gSugar: 0gProtein: 1g
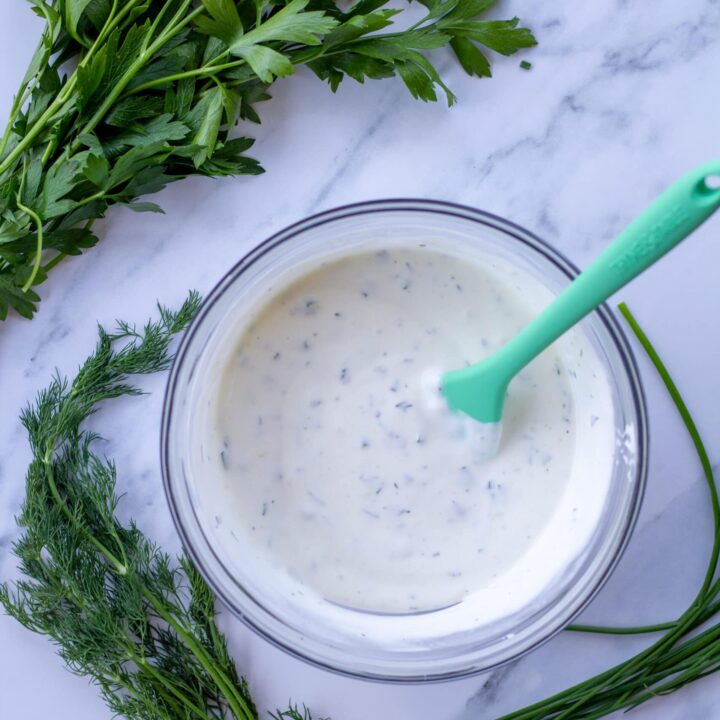
Homemade Healthy Ranch Dressing
Homemade ranch dressing is healthy, creamy, fresh, and herby. Made with clean ingredients including dill, parsley, garlic, yogurt, sour cream, and buttermilk.
Ingredients
- ½ cup sour cream
- ½ cup greek yogurt
- ½ cup buttermilk
- 2 teaspoons lemon juice freshly squeezed
- 1 teaspoon dill fresh
- 1 teaspoon parsley fresh
- 2 teaspoons chives fresh
- 1 garlic clove grated or pressed
- ¼ teaspoon garlic powder
- ½ teaspoon onion powder
- ¼ teaspoon salt
- ⅛ teaspoon black pepper finely cracked
Instructions
- Finely dice the dill, parsley, and chives and place them in a bowl.
- Whisk together the sour cream, yogurt, buttermilk, and lemon juice.
- Combine the diced herbs, garlic powder, salt, and pepper, and stir it all together. Add more salt or pepper to taste.
- Pour the dressing into an 12 oz jar, close tightly with the lid, and store in the fridge for up to a week.
Notes
Try some of these delicious variations:
- Change the herbs: Instead of doing the classic herbs, try mint, basil, tarragon, shallots, cilantro, oregano, or jalapeños.
- Add some sweet or heat: Make it sweet with a small amount of honey or agave. For a kick, add a little Tabasco or Sriracha.
- Try a green goddess: Combine all your ingredients plus half an avocado in a food processor to make a green goddess dressing.
- Mix up the acid: Buttermilk and lemon juice are the acid in this recipe, but you could use a teaspoon of white distilled vinegar or apple cider vinegar instead.
- Use different spices: Instead of garlic powder and onion powder, you could use paprika, cayenne for some heat, cumin, celery seed, dried tarragon, dried parsley, or dried oregano.
Nutrition Information:
Yield: 4 Serving Size: ¼ cupAmount Per Serving: Calories: 90Total Fat: 6gSaturated Fat: 3gTrans Fat: 0gUnsaturated Fat: 2gCholesterol: 20mgSodium: 211mgCarbohydrates: 5gFiber: 0gSugar: 3gProtein: 5g

Hi Linds, I haven't been to your website for awhile. I loved looking at all you have created and excited at all the new things you're doing.
Love you,
Mom